

These chicken and sour cream enchiladas are about to make your busy weeknights a whole lot easier. If you love enchiladas like we do around here but don't have the patience for rolling tortillas one by one (who does?) and dirtying five pans, then this recipe is about to become your new favorite.
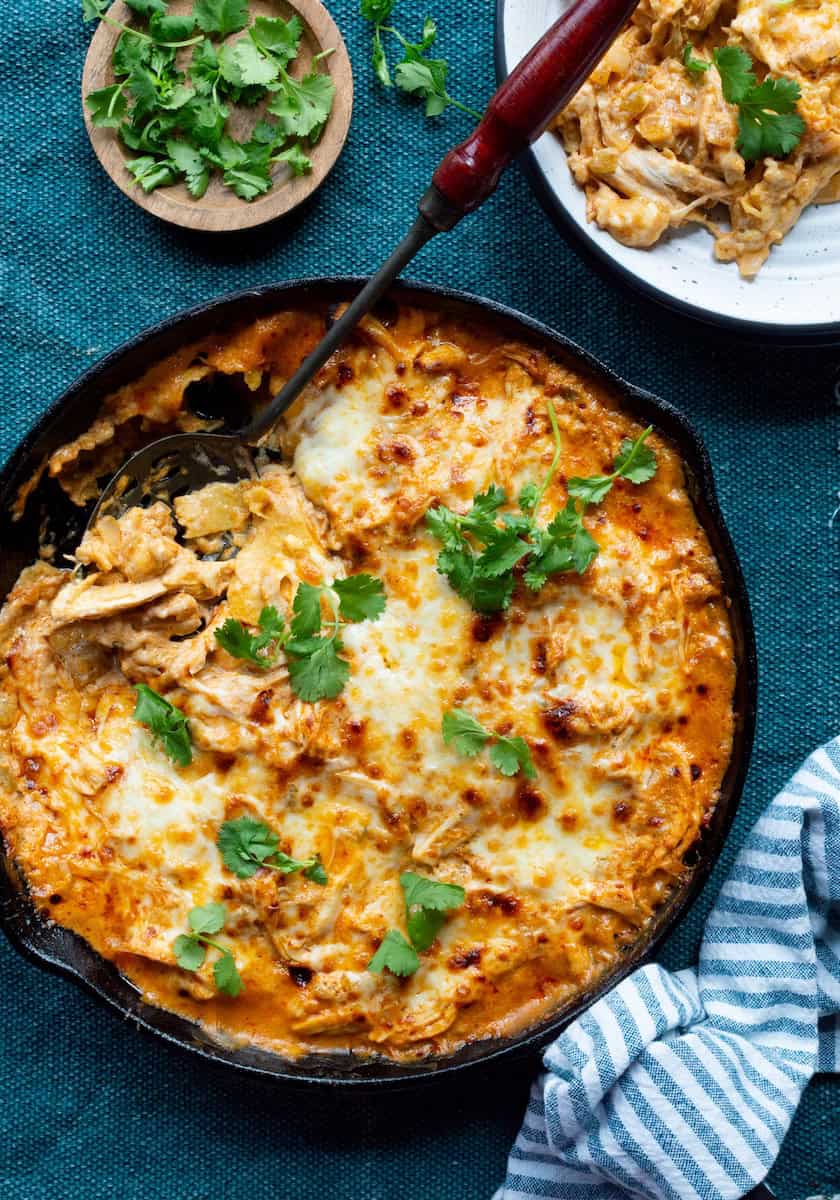
This enchilada casserole is what I make when I want all the creamy, cheesy comfort of enchiladas but in a flash. No individual rolling, no dirtying five pans, just layers of shredded rotisserie chicken, sour cream, red enchilada sauce, green chilies, corn tortillas, and Monterey Jack, built right in the same skillet you sautéed the onion in.
That last part matters more than it sounds like it should. This is genuinely a one-skillet situation from start to finish, which means less cleanup and more time to actually sit down and eat while it's hot.
And because we're leaning into more protein around here lately, I stacked this one heavier on chicken than filling, so every bite feels like it's actually doing something for you, not just relying on cheese and sauce (though there's plenty of that too).
The next time you're at the store, grab a rotisserie chicken like I do, and you've basically skipped the most tedious part of enchiladas altogether.
For the ultimate Tex-Mex feast, start with some key lime margaritas or my ranch water recipe, my easy queso recipe, and 4 ingredient guacamole recipe. Then, serve these enchiladas with my Southern caviar recipe or smoked Mexican street corn on the side.
Jump to:
Reasons to Love this Sour Cream Chicken Enchilada Recipe
- No tortilla rolling required. Think of this like a skillet Mexican lasagna. The tortillas, chicken filling, sour cream enchilada sauce, and cheese are layered directly in the skillet, which makes assembly much easier.
- Rotisserie chicken does the heavy lifting. Since the chicken is already cooked, all you need to do is shred it and stir it into the filling.
- One skillet means less cleanup. No one likes a sink full of dishes, especially on hectic evenings. With this recipe, all you need is an oven-proof skillet and a bowl to mix the filling in.
If you're looking for more casserole recipes to add to your repertoire I have several recommendations of where to start: My broccoli casserole is my absolute favorite vegetable side with squash casserole a close second.
For another rotisserie chicken casserole, you can't go wrong with my poppyseed chicken casserole or chicken cobbler with Red Lobster biscuits.
I'm getting hungry already! Shall we make those enchiladas? Let's do it!
Ingredients
Before we get started, let's gather the ingredients we need for these creamy chicken enchiladas:
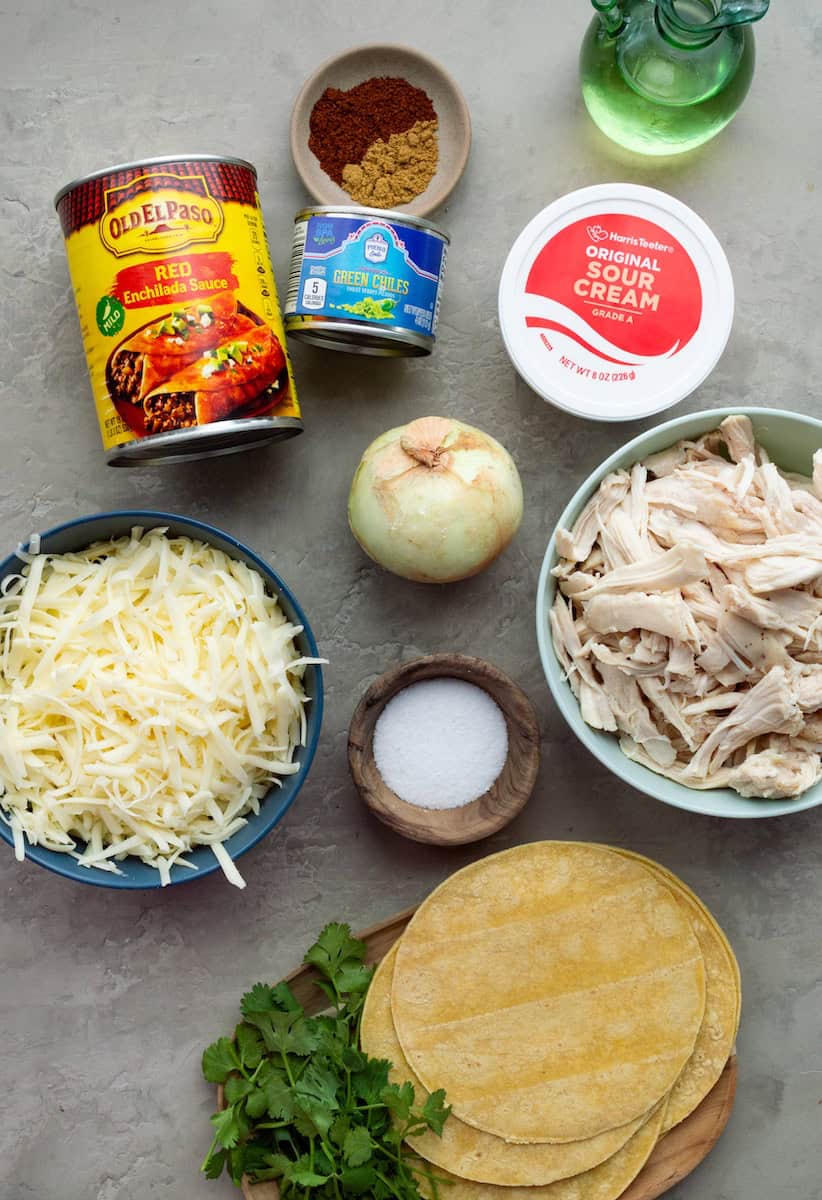
- yellow onion
- rotisserie chicken
- red enchilada sauce
- sour cream
- diced green chiles
- kosher salt
- ground cumin
- chili powder
- corn tortillas
- Monterey Jack cheese
- fresh cilantro (optional)
(See recipe card for quantities.)
Instructions
Now that we've got our ingredients, it's time to get cooking!
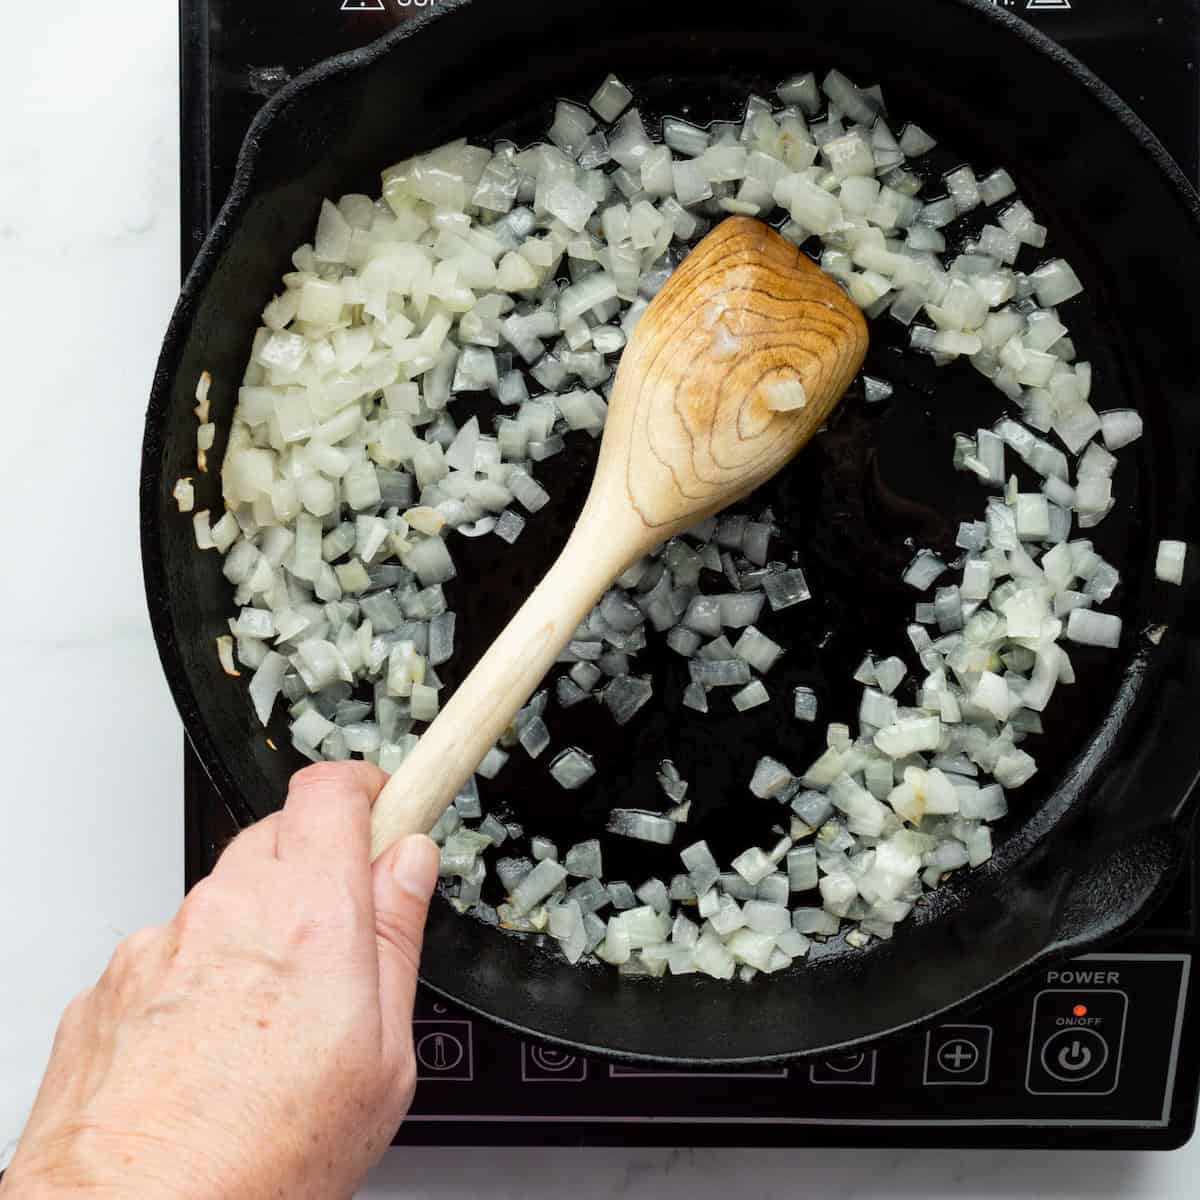
- First, cook the onion in a large oven-proof skillet over medium-high heat until tender. Remove from the skillet to a large bowl.
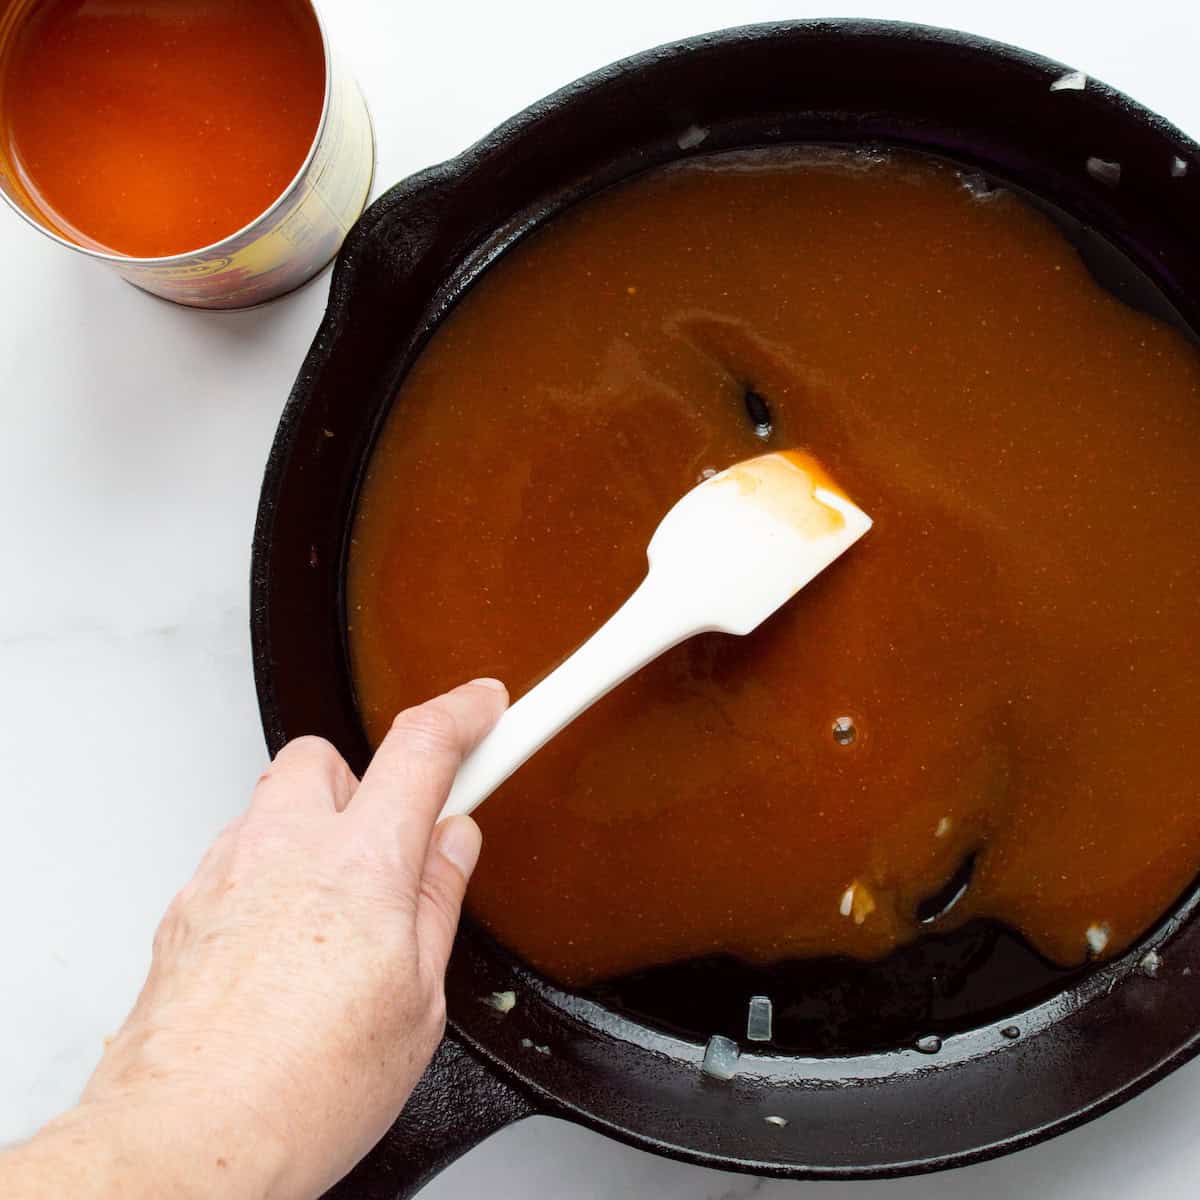
- Then, spoon ½ cup of the enchilada sauce into the skillet. Set aside the remaining enchilada sauce. Layer 4 tortillas in a single layer in the bottom of the skillet, tearing some of the tortillas if necessary.
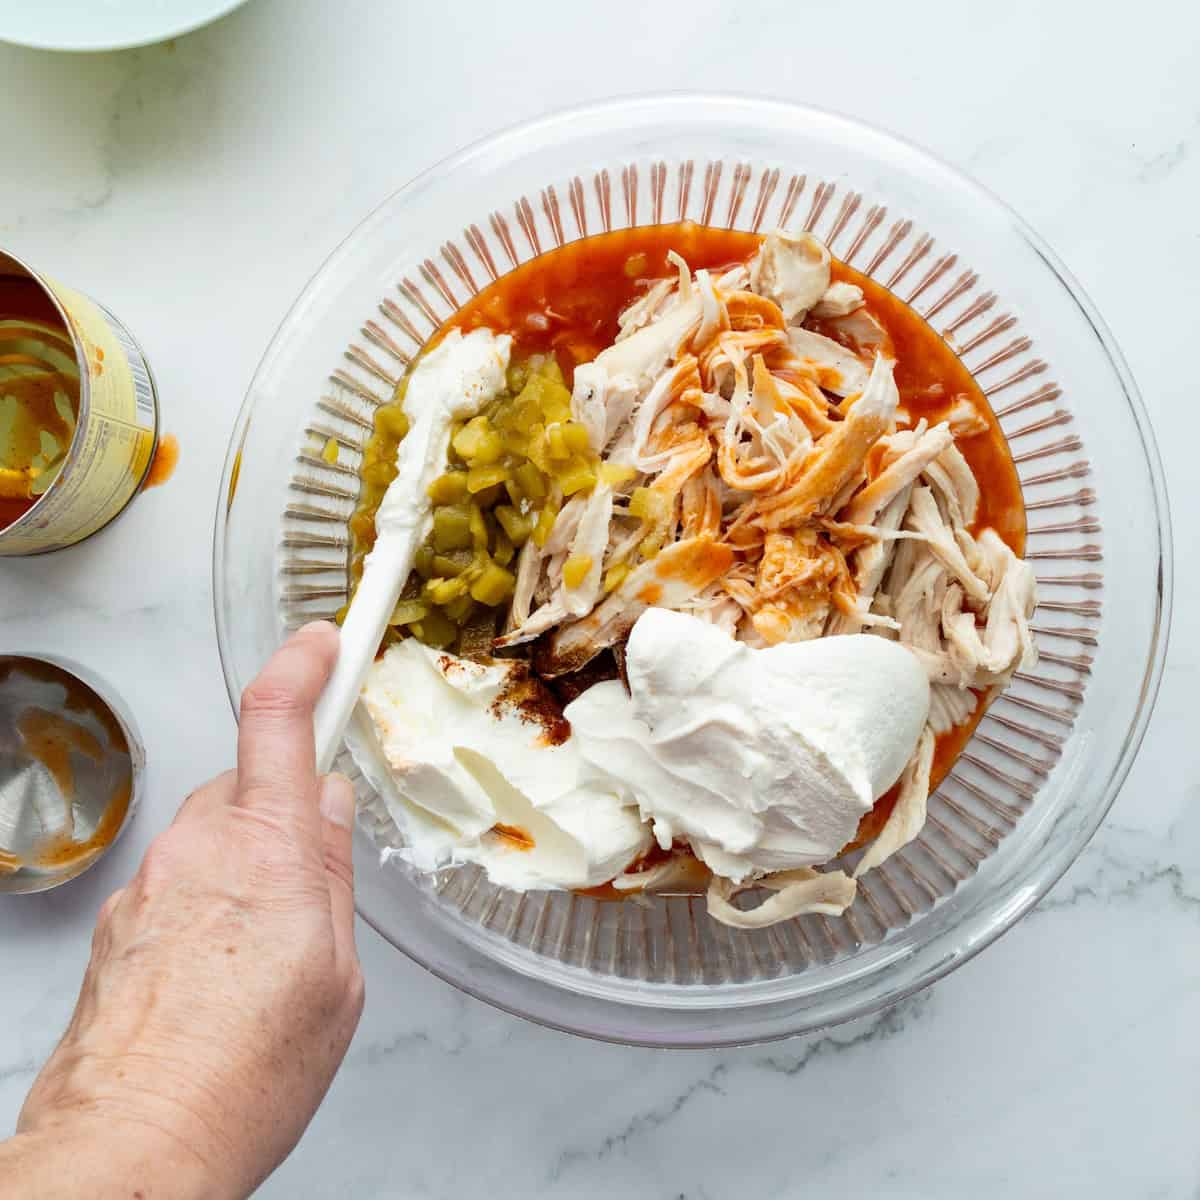
- Next, add the green chiles, chicken, remaining enchilada sauce, sour cream salt, cumin, and chili powder to the onion in the bowl, and stir well to combine.
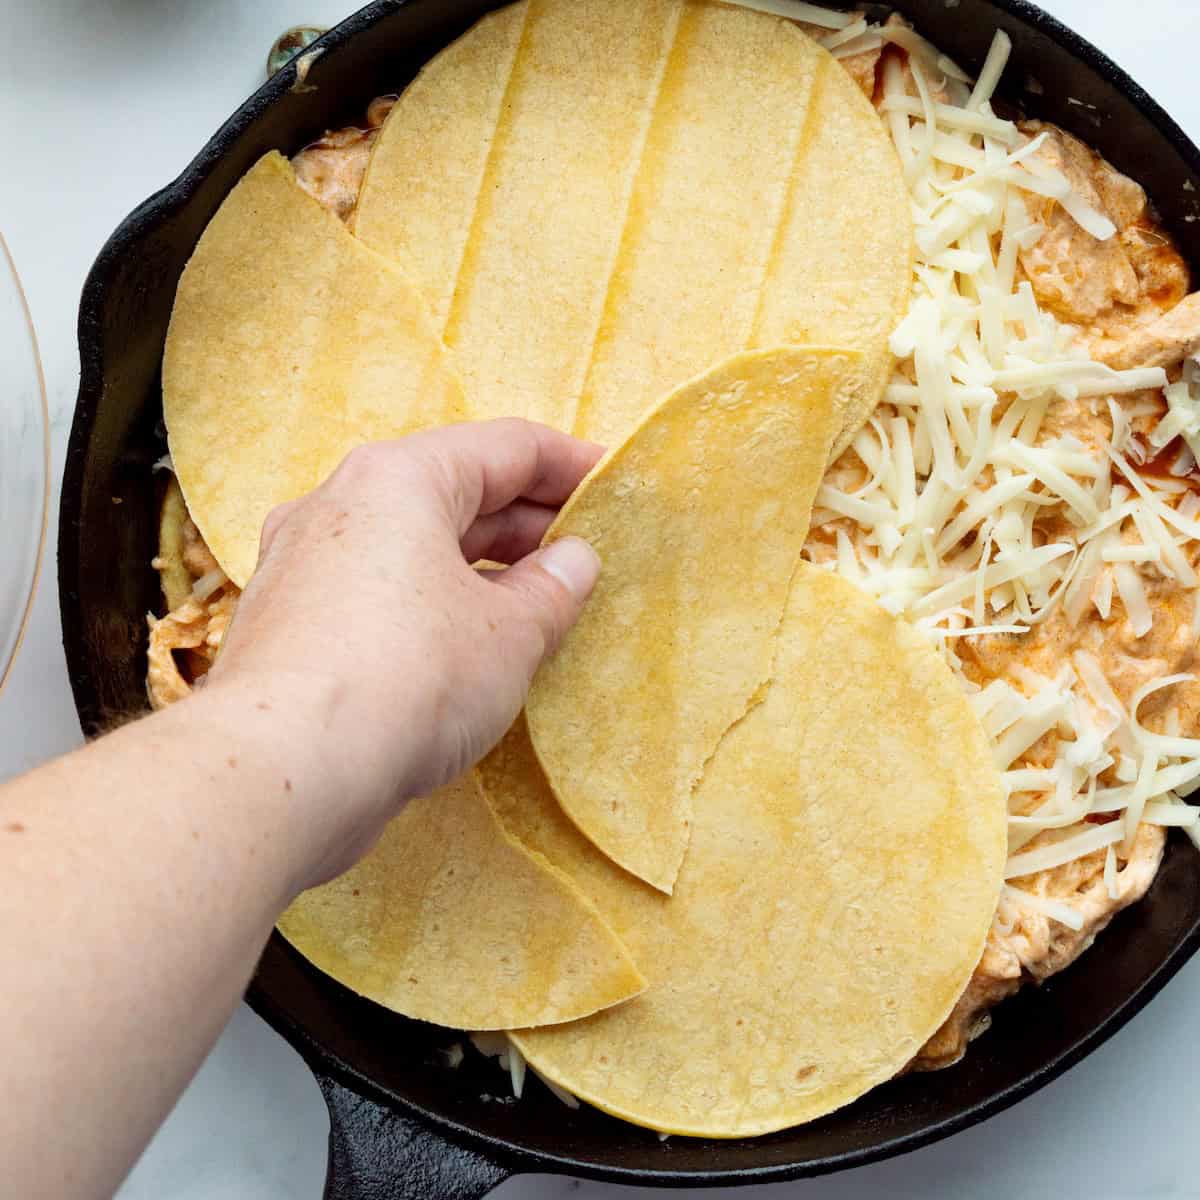
- Finally, spoon half of the chicken mixture over the tortillas and sprinkle with half of the cheese. Repeat the layers, ending with the cheese. Cover the skillet with aluminum foil. Bake at 425°F for 20 minutes or until bubbly. Uncover and increase the oven temperature to broil. Broil for 2 minutes or until the cheese is browned. Remove from the oven and sprinkle with cilantro, if desired before serving.
Hint: Lightly spray the underside of the foil with non-stick cooking spray before covering the skillet. This helps keep the melted cheese from sticking to the foil when you uncover the enchiladas.
Substitutions
Check out these substitution ideas in case you need to make some adjustments:
- Cooked chicken breasts: If you've got some leftover cooked chicken, use about 3½ cups in place of the rotisserie chicken. You can also buy 1½ pounds boneless, skinless chicken breasts, season lightly with salt and pepper, and bake at 350°F for about 25 to 30 minutes or until a meat thermometer inserted in the center registers 165°F. Shred the chicken while still warm.
- Flour tortillas: You can use flour tortillas instead of corn tortillas, but expect a softer texture after baking.
- Olive oil: Olive oil works in place of vegetable oil for sautéing the onion.
- Sharp Cheddar cheese: Replace some or all of the Monterey Jack with sharp Cheddar for a stronger cheese flavor.
- Fresh cilantro: If you're not a fan of cilantro, or you want more garnish, top with green onions.
Variations
Want to change things up? Here are some ideas:
- Spicy Chicken Enchiladas - If you like spicy foods, grab a can of chipotle peppers in adobo sauce. Mince a chipotle pepper and add some of the adobo sauce to the chicken mixture. A pinch of cayenne pepper works too.
- Green Chicken Enchiladas - Swap the red sauce for green enchilada sauce for a different chile flavor.
- Add Beans - Stir drained black beans or pinto beans into the chicken filling to make this dinner even heartier.
Equipment
Here's the equipment you'll need to make this recipe:
- large oven-proof skillet (I love my cast-iron skillet for this recipe)
- large mixing bowl
- liquid measuring cup
- measuring spoons
- cheese grater
- wooden spoon or spatula
- aluminum foil
- chef's knife
Storage
To refrigerate: Let the leftovers cool, then transfer them to an airtight container and refrigerate for 3 to 4 days.
Reheat individual portions in the microwave until hot throughout, or cover and warm larger portions in the oven at 350°F.
To freeze: Let the enchiladas cool completely, then portion them into freezer-safe airtight containers. Thaw overnight in the refrigerator before reheating.
Tasty Tip
Shred the chicken while it's still hot--it'll be so much easier. If the chicken is already too cooled before you shred it (or you forgot), reheat it partially in the oven at 250°F.
Frequently asked questions
Absolutely! You'll need more corn tortillas, and a casserole dish will probably work better than a large skillet.
Yes. You'll need the meat from the entire chicken, but be sure to remove the skin first.
Yep! Assemble the enchiladas in the skillet, then cover the skillet tightly with plastic wrap and refrigerate for up to 24 hours. When you're ready to bake, remove the wrap, cover with foil, and bake in the preheated oven. Since the skillet will be cold from the refrigerator, it may need a few extra minutes in the oven before the filling is hot and bubbly.
Related
Looking for other recipes like this? Try these:


Pairing
These are my favorite dishes to serve with this easy enchilada recipe:


🍽Get the recipe

Easy Skillet Chicken and Sour Cream Enchiladas
Equipment
- chef's knife
- large oven-proof skillet
- measuring spoons
- cheese grater
- liquid measuring cup
- large bowl
Ingredients
- 1 small yellow onion, chopped
- 1 rotisserie chicken, skinned and shredded (about 3½ cups)
- 1 (19-ounce) can red enchilada sauce
- 1 (8-ounce) carton sour cream
- 1 tablespoon vegetable oil
- 1 (4-ounce) can diced green chiles
- ½ teaspoon kosher salt
- ½ teaspoon ground cumin
- ½ teaspoon chili powder
- 8 corn tortillas
- 1 (8-ounce) block Monterey Jack cheese, shredded
- Fresh cilantro for serving (optional)
Instructions
- Preheat the oven to 425°F. Heat the oil in a large oven-proof skillet over medium-high heat until hot. Add the onion cook for about 5 minutes or until tender. Transfer to a large bowl, and set aside.
- Spoon ½ cup of the enchilada sauce into the bottom of the skillet. Set aside the remaining enchilada sauce.
- Add the green chiles, chicken, remaining enchilada sauce, sour cream, salt, cumin, and chili powder to the onion, and stir well to combine.
- Layer 4 tortillas in a single layer in the bottom of the skillet. (Tear some of the tortillas if necessary).
- Spoon half of the chicken mixture over the tortillas and sprinkle with half of the cheese. Repeat the layers, ending with the remaining cheese.
- Cover the skillet with aluminum foil. (Coat the underside of the aluminum foil with cooking spray to prevent the cheese from stick.)
- Bake for 20 minutes or until bubbly. Uncover and increase the oven temperature to broil. Broil for 2 minutes or until the cheese is browned.
- Remove the skillet from the oven sprinkle with cilantro before serving, if desired.
Would you like to save this?
Video
Recipe guidelines and test kitchen tips
When developing and testing recipes, here are some key things that I do for more success in the kitchen:
- Be sure to use dry measuring cups for things like flour, sugar, and mayonnaise and a liquid measuring cup for things like water, milk, and broth.
- When measuring dry ingredients like flour and powdered sugar that can pack down, spoon the ingredient into a dry measuring cup and level with a knife as opposed to scooping the measuring cup into the ingredient.
- I test and develop recipes using a standard electric oven and standard gas stovetop. Be aware that if you use an electric stovetop or convection oven, your bake times will be different.
- When recipes call for kosher salt, I use Diamond Crystal kosher salt.
Food safety
Keep these few food safety things in mind when making this recipe:
- Do not use the same utensils on cooked food, that previously touched raw meat or eggs.
- Wash hands after touching raw meat or eggs.
- Don't leave leftovers sitting out at room temperature for extended periods.
- Never leave cooking food unattended.
- Always have good ventilation when using a gas stove.




Hayden says
This chicken enchilada casserole was so good! The sour cream makes it super creamy, and all those cheesy, savory flavors go so well together. Such an easy comfort food dinner that everyone loved!
AshleyFreeman says
Yay! I'm so happy to hear that!
Kayla says
I love how easy this recipe was. It was a great weeknight dinner.
AshleyFreeman says
Yes!! That was my goal!
Julia says
This Easy Skillet Chicken and Sour Cream Enchiladas recipe is so delicious and easy to make. My family loved them. Thank you!
AshleyFreeman says
Hooray--doing a happy dance over here!
Violet says
Way easier to make than regular enchiladas! A new taco Tuesday fave in this house!
AshleyFreeman says
Awesome! Yes--who has time for rolling? Not me!
Elizabeth says
This yummy casserole was perfect for a weeknight dinner last week. It's definitely going on our menu rotation.
AshleyFreeman says
Amazing! Love to hear that!